TinkerCAD and Micro:bit: The Perfect Duo for STEM Education
TinkerCAD is a free and beginner-friendly online 3D design and electronics simulation tool, perfect for learning 3D modeling and basic programming. With its simple drag-and-drop interface, users can quickly create 3D models and prepare them for 3D printing. TinkerCAD also offers circuit simulation features, allowing learners to explore the basics of electronic components and experiment with designs. It’s an ideal entry point into 3D design and electronics for kids, teens, and beginners alike.
Micro:bit is a microcontroller board developed by the BBC, designed specifically for education and creative learning. It features a beginner-friendly graphical programming interface and also supports Python and JavaScript, catering to learners of all levels. Equipped with an LED display, buttons, sensors, and Bluetooth, Micro:bit makes it easy for students to create interactive projects. Learning Micro:bit is a great first step toward programming and Internet of Things (IoT) innovation.
This 24-hour course is divided into three levels: Level 1, Level 2, and Level 3, suitable for learners of all backgrounds. Whether you're a beginner or an advanced user looking to deepen your skills, our course will help you master the powerful features of TinkerCAD and Micro:bit.
Course Highlights
- Each level includes 4 lessons, 2 hours each, totaling 8 hours of hands-on learning per level. The curriculum is designed to progress from beginner to advanced, helping learners build core TinkerCAD and Micro:bit skills step by step.
- We offer a highly flexible schedule. After registration, we will coordinate with learners to confirm class times that suit their availability and needs.
- Learners can freely choose to enroll in Level 1, Level 2, or Level 3 based on their experience and goals. Each level includes a certificate upon completion.
Who Should Join
- Beginners and advanced learners interested in 3D modeling and sculpting
- Creators interested in TinkerCAD, Micro:bit, or 3D printing technologies
- Anyone looking to improve their 3D design skills
Note: Course fees do not include 3D printed works, Micro:bit, or related components. Learners may pay separately for printing and purchasing the necessary Micro:bit parts.
Course Level Overview
Level 1
Getting Started with TinkerCAD
- Interface overview
- View controls: Nav Cube, zoom, rotate view
- Toolbar: Basic 3D shapes (cube, cylinder, sphere, etc.)
- Workspace and grid setup
Basic Operations
- Add, move, resize, and rotate objects
- Tools: copy, paste, duplicate, undo
Create a Personalized 3D Name Tag
Design Fun Characters and Objects
- Shape combination techniques
- Using solids and holes
- Grouping and ungrouping objects
Design Techniques
- Combine shapes to build characters (e.g., animals, people)
- Adjust proportions and refine details
Create a 3D Figurine or Animal Design
Build 3D Printable Models
- Introduction to alignment and mirror functions
- Apply Chamfer and Fillet
- Understand basic 3D printing limitations (e.g., wall thickness, overhangs)
- Optimize models (e.g., reduce supports, simplify details)
Design a Small Decorative Piece
- File export and 3D printing prep
- Introduction to STL file format
- Export STL files from TinkerCAD
3D Printing Workflow
- Basic 3D printer operation
- Intro to slicing software and print settings
Level 2
Create More Complex 3D Models
- Advanced shape combination and surface effects
- Create detailed characters or objects
- Design mini architecture models
Design Moving Parts and Assemblable Models
- Measure and design to precise dimensions
- Learn to design clips, lids, and functional joints
- Create openable storage boxes or modular toys
Reinforce Structures and Add Detail
- Strengthen structural elements for stability
- Add intricate decorative details
- Design functional and aesthetic components based on size and use
Full Project Creation, 3D Printing & Refinement
- Complete 3D print
- Evaluate print quality
- Modify models based on results
- Refine and enhance design with new details and features
Level 3
Introduction to Micro:bit & Simple Programming
- Learn what Micro:bit is — no engineering background needed
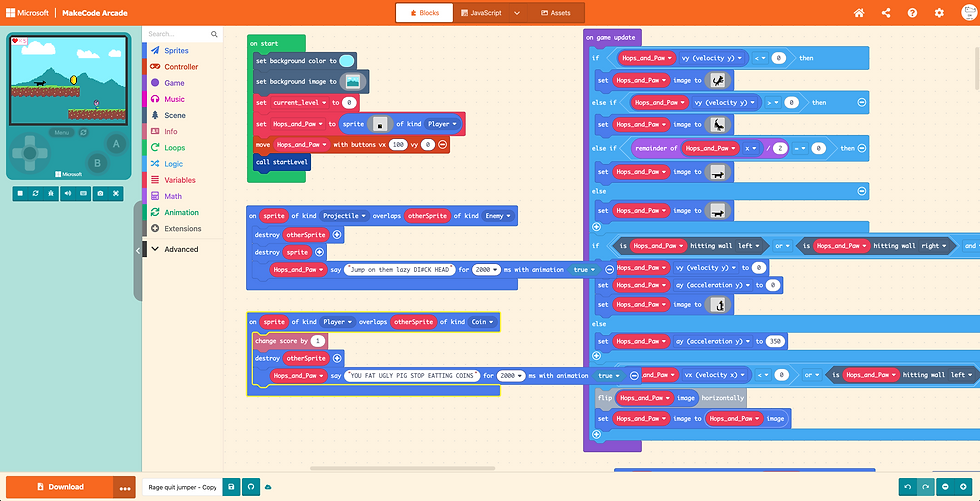
- Use the MakeCode editor for block-based coding
Control Micro:bit’s LED Display
- Display icons like smiley faces, hearts, etc.
- Write simple programs
Design a Micro:bit Enclosure
- Measure Micro:bit to ensure accurate fitting
- Ensure print compatibility, avoid sizing issues
- Design protective or decorative casing
- Add cutouts for buttons and ports
- Optional: design swappable panels or 3D embellishments
Create 3D Models to Fit Micro:bit
- Design organic, curved shapes
- Create stylized characters or objects
Refine Model Details
- Design sleek character models (e.g., animals or robots)
Testing and Assembly
- Test Micro:bit features
- Complete 3D printing
- Assemble model with Micro:bit
- Adjust design based on testing results
Create Interactive Models with Micro:bit
- Examples: Light-up or sound-emitting decorations/toys
- Adjust structure and detail based on print results
- Examples: fine-tune clip tightness, adjust LED window alignment
TinkerCAD + Micro:bit Comprehensive Training Course
Customers can book any 2-hour session in our opening hours at a first come first serve basis.
After you register, our team will contact you to confirm the date and time you would like to start your course.
Special Note: All sessions must be completed within 6 months starting from the sign up date. Remaining sessions after 6 months will be forfeited and there will be no refund.