


How to Sand FDM 3D Prints: Sandpaper, Finishing Steps and Safety
Whether an FDM print needs sanding depends on what you want to improve. Support marks, bumps and layer lines that affect painting can be refined gradually. Avoid removing too much material from joints that already fit, thin walls and fine details.
A practical approach is to remove the supports, test a small area, then move to finer sandpaper according to the scratches and surface condition. Clear away dust and check dimensions at every stage. Stop when the surface is suitable for its intended use.
Before sanding: identify the material, defects and intended use
First confirm the printing material, wall thickness and areas where dimensions need to be preserved. PLA, PETG, ABS/ASA and flexible materials behave differently during finishing. For materials containing fibres or other fillers, also check the safety data sheet’s dust-handling requirements.
This guide focuses on mechanical finishing of FDM/FFF prints. Resin prints should first complete the cleaning and curing process for the specific material, then be finished according to the manufacturer’s instructions.
Use light from the side to distinguish bumps, pits and ordinary layer lines. Sanding removes material. For a deep pit, assess filling, revising the model or reprinting first; these options can preserve the shape more easily than sanding down the whole surrounding area.
Test the fit before starting, too. Mark the snap-fits, screw holes, shaft holes and mating surfaces that need to be preserved. Prusa’s post-processing guide specifically reminds readers to preserve hole diameters when cleaning holes in functional parts.
Prepare your tools and workspace
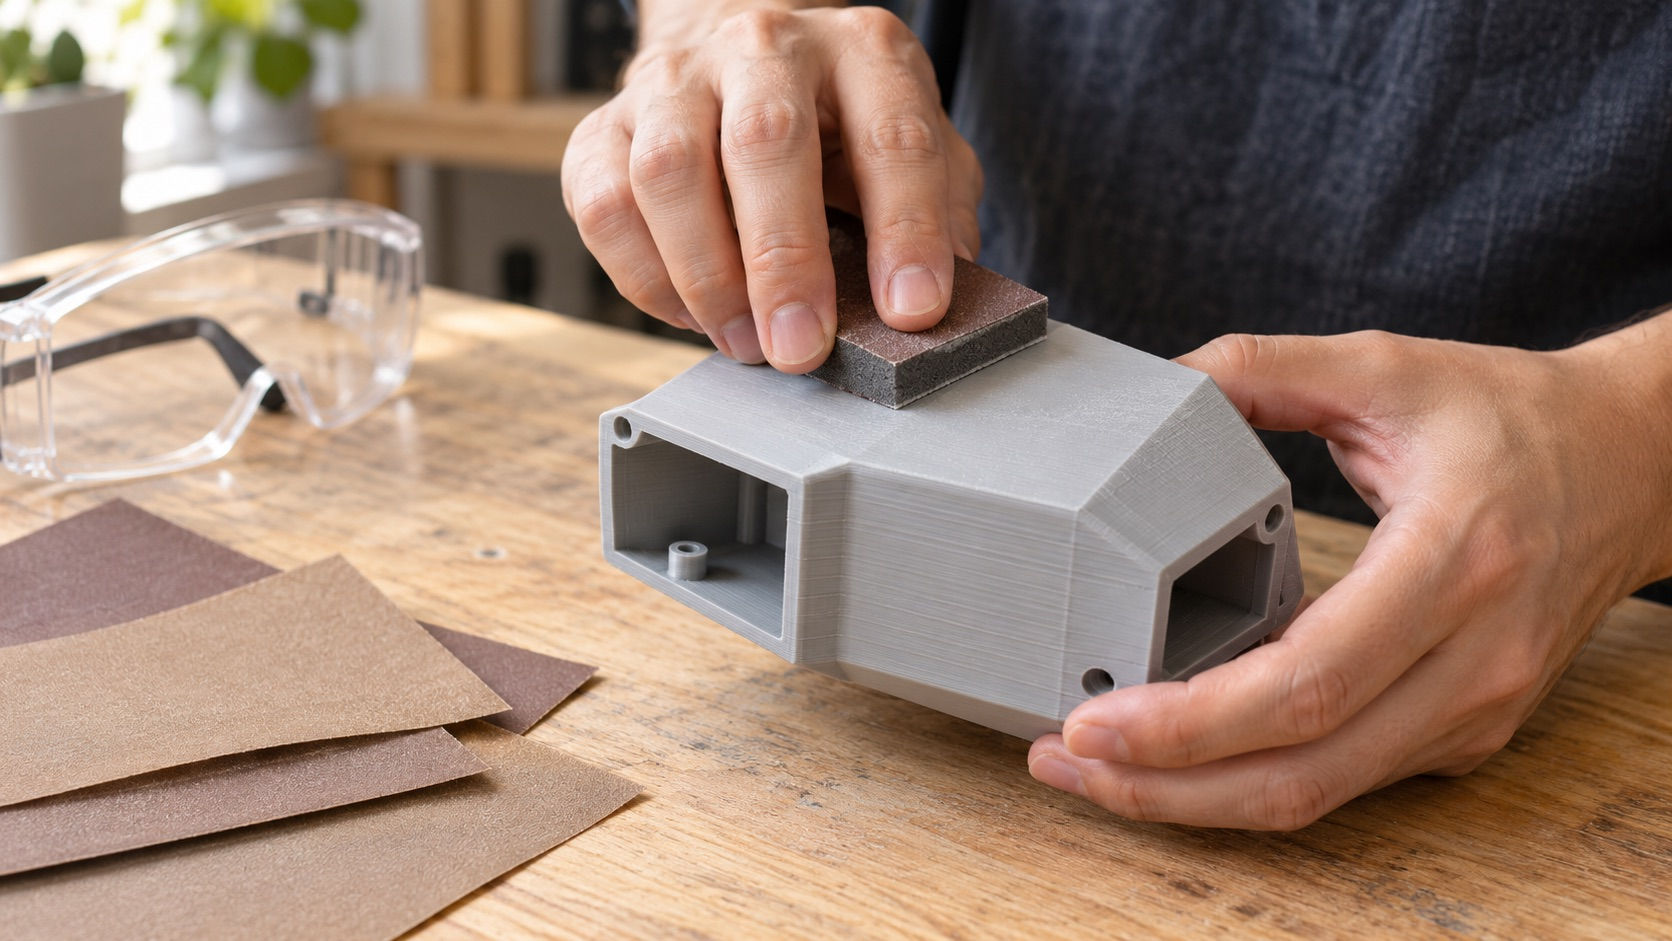
For hand sanding, prepare sandpaper in several grades, a sanding block, a small file, a soft brush and measuring tools. A block helps keep flat surfaces flat. Use suitable flexible sandpaper for curves, taking care around corners and raised details.
Control dust: Work with suitable ventilation and dust collection, and select respiratory protection according to the material’s safety data sheet. Clean the workbench afterwards and avoid blowing dust into the air.
Protect your eyes: Put on safety goggles before removing supports or sanding. Secure the part and keep fragments away from your face.
Read the tool instructions first: When using power tools, follow the manufacturer’s requirements for securing the workpiece, protection and accessories. Keep hair, loose clothing and anything else that could become entangled away from rotating parts.
Use light pressure: Work in short intervals, then stop to inspect. If the part becomes hot, sticky or distorted, stop immediately and let it cool before reassessing.
Which sandpaper grit should you start with?
Lower grit numbers generally mean coarser sandpaper that removes material faster. Higher numbers generally mean finer paper, suitable for refining scratches left by the previous stage. Check the grit standard used by the product and, where possible, compare grades within the same range.
Start by trying a few strokes with finer sandpaper in an inconspicuous area. If it improves the defect effectively, start there. Only try a coarser grade if removal is too slow and the wall is thick enough. Coarse paper removes material faster, so be especially conservative around thin walls and details.
Surface condition | Starting approach | Check before moving to the next grade |
Prominent support bumps | Carefully trim off most of the bump, then refine locally | The bump is reduced without a hollow forming around it |
Light layer lines or small scratches | Test finer sandpaper and preserve details | The surface improves while dimensions and contours remain suitable |
A flat surface to prepare for painting | Work evenly with a block and follow the primer’s preparation requirements | Deep scratches are reduced without rounding the corners |
Holes, snap-fits or thin walls | Remove only burrs that interfere with use | The part assembles normally and the joint remains secure |
Sanding step by step: clean, test, refine and inspect
Step 1: Remove supports and obvious burrs
Carefully remove supports and the base, dealing with protruding material first. Direct blades away from your hands and body, and work in stages around small or fragile areas. Assess pits left by supports separately rather than continuing to remove material around them.
Step 2: Find a suitable grit on a small area
Test an area that does not affect appearance or fit. Use light pressure and short strokes, then stop to inspect scratches and contours. Use a block on flat surfaces where possible. Limit the sanding area around lettering, sharp corners and thin sections.
Step 3: Clear away dust, then move to finer sandpaper
Remove dust and grit from the surface before changing to a finer grade. Check whether the deeper scratches from the previous stage are fading. If they remain prominent, return to a stage that can remove them effectively.
Record the sandpaper range, grit sequence and results at each step. This gives you a starting point next time you finish the same material and surface type. Formlabs’ guide to removing support marks also uses progressively finer sanding. Read its specific grit recommendations in the context of the resin material and process used in those examples.
Step 4: Clean, test the fit and stop when the goal is met
Use side lighting to check for deep scratches and remaining bumps, then measure or test the fit of important areas. For display pieces, work towards the requirements of the primer and paint. For functional parts, prioritise fit and detail.
If improving the surface still requires substantial material removal, reviewing the model and slicing settings may save work. Print orientation affects layer lines and support contact points, so consider appearance, strength and printing reliability together.
Choosing between hand sanding, wet sanding and power tools
Hand sanding is a useful starting point. It makes pressure easier to control and rounding at corners easier to notice. If the part has fine details or only a small area of support marks, start by observing the results of hand sanding.
Check the material and subsequent process before wet sanding. Hand sanding with a little water and paper designed for wet use can reduce airborne dust. Collect the sanding residue and liquid afterwards and handle them according to the material’s requirements. Let the part dry thoroughly before painting or bonding. Keep water away from electrical equipment and use ordinary power sanders only for dry work.
Power tools suit experienced users who can secure the workpiece. Use accessories and settings suitable for plastic, with light pressure and intermittent contact. Watch for frictional heat, especially with PLA. Stop if the surface softens or develops smeared marks, so that pursuing a smoother finish does not alter the shape.
Final checks before painting or assembly
Once the surface is clean and dry, check holes, snap-fits and mating surfaces again. Before painting, test a compatible primer on a sample and follow the product instructions. Use the scratches revealed by the primer to decide where further finishing is needed. Formlabs’ guide to priming prints shows how cleaning, priming and inspection fit into the process.
Want to learn the full process from design to printing?
To reduce finishing time, start with the model’s shape, print orientation and slicing settings. Explore our 3D printing, 3D design and AI creativity courses and find a learning direction that suits you.
For more articles on settings and finishing, visit 3D Printing Guides & Fixes.



Comments